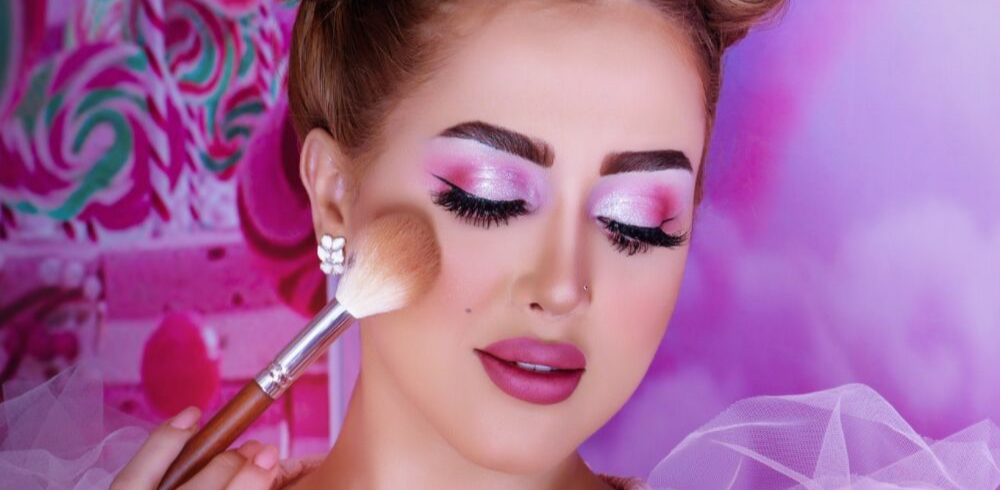
 The world is highly competitive now. You have to score the best, earn the best, drive the best, and most importantly, you have to look the best, especially if you are taking your baby steps towards college or the professional world. Besides, who doesn’t like glamming up every now and then, right?
An old proverb claims that being ‘simple is beautiful’, and while it may be true to an extent, make up definitely helps you enhance yours features and look even more gorgeous.
As a beginner, putting on flawless makeup may seem like a far-fetched dream even after spending all those sleepless nights on YouTube searching for ‘how to contour perfectly’. But, no need to worry yourself anymore.
In this post, I have put together some of the best-kept make up secrets that no YouTube channel can tell you about.
1. Know the color tone before you begin
Before you begin experimenting with makeup, it is important that you know your skin tone so you can find products that not only fit well with your tone but also accentuate it.
The easiest way to tell if you are of a warm, cool, or neutral skin tone is to check the color of your veins.
Greenish veins depict warm, blue or purple are for cool, and if you can’t really tell (like me), it is best to go for neutral.
2. Use a primer that complements your foundation
One of the first things you need to learn when you start putting on makeup is the importance of using a primer that will help in holding your makeup for a longer period of time.
However, you must also know that primers can be oil-based as well as water-based.
Essentially, primers are used before you apply foundation, which is why, it is necessary that both your primer and foundation are of the same base. You don’t want your foundation to slide off your face, do you?
3. Use primer to hide those crow’s feet
Irrespective of your age, some of us are born with natural crow’s feet. While they may be okay when you don’t have any make up on, it is best to hide them when putting make up.
This is where your primer comes into play again! Dab a little amount of primer on the crow’s feet around your eyes and see them magically diminished to a great extent.
4. Always, always blend your foundation outwards
I can’t focus enough on this point! More often than not, you will come across women who look like they have plastered their face with foundation. And, you do not want to look like that, do you?
When applying foundation on your face, always blend it outwards and double it up on spots that you feel need more coverage – under eyes, nose, hyperpigmentation, and dark spots (if any).
5. Conceal better
As beginners, most of us have committed the mistake of applying concealer in a semi-circle way under our eyes.
However, the best way to get the most out of your concealer is to apply it in a conical shape and extend the tip of the cone to almost where your nose ends – this not only helps you conceal those dark circles and eye bags better but also lets you contour the sides of your nose better.
6. DIY Smart and Affordable Color Corrector Palette
By now, your YouTube makeup tutorials must have already taught you how and when to use a color correcting palette – green for redness, blue for dark circles, peach for injuries, and so on.
But what if you suddenly find yourself out of those? Well, mix the desired colored eyeshadow with your regular concealer and abra-ka-dabra! You have your very own smart and cost-effective color corrector palette.
7. Cheat day with DIY Tinted Moisturizer
There are those days where we absolutely have no energy to get on with the entire foundation routine, but what do you do if you have a party to attend or maybe a meeting to conduct? Simple. Mix your regular moisturizer and your concealer in a small bottle and there you go!
8. Dazzle those big, beautiful eyes
Wondering how all those divas on screen have such big, magnificent eyes? Here’s the trick – a white or nude eyeliner. Yes, you heard me right! All you need is to line your waterline with a white or nude eyeliner and voila!
Extra tip – If you are light skinned, definitely go for the white liner and see the magic.
9. Well-defined brows
What’s the point of having those stunning eyes if you can’t flutter them to make a dramatic entrance?
For an instant glamor, use your highlighter right above the eyebrows and blend them out smoothly. It not only defines the brows but also gives your face a ‘diva’ effect.
10. Dot and Dash Your way to a perfect eye liner
It may sound funny, but there are women (like me) who still can’t use an eye liner without a shaky hand.
But, fret not, I have discovered that drawing small dots and/or dashes over my lash line using the eyeliner makes it pretty easy to get that perfect, curvy line in no time.
11. Wings, wings, wings
Wings are the new rage. From movie stars to singers and teenagers to the fabulous elderlies, everyone is mad over wings these days.
But then again, I can’t draw a perfect line with the eye liner, so I am in no way going to get the perfect wing without some help. If you are like me, try using the scotch tape method!
Stick a scotch tape (or a credit card, business card) in an angular manner on the sides of each eye and use the ends as a guide to get the perfect wings. Trust me, it works 100% of the time.
12. Complete the look with longer, thicker lashes
Did you think the Kardashians are known only for their, umm… physique? Take a look at their eyelashes once and you will know what I mean.
I agree that some of you would think that those are extensions and they may as well be, but you can make yours look like that without needing any.
Using your liner, line the upper lash line instead of above the lashes. This process, also known as tightlining, gives an instant illusion of longer, thicker eyelashes.
13. Smudging – a complete NO
Imagine having spent so much time getting those perfect, glittering eyes and your kohl starts to smudge even before its dinnertime. Not a happy thought, is it? To avoid this, always dab some loose powder or eye shadow to lock it in.
14. Make your lips color-ready
You can have the latest collection of lip glosses and crayons, but none of them look good on dry, chapped lips. To avoid such an embarrassing situation, you must prep your lips before putting make up on them.
Use a soft toothbrush and gently exfoliate your lips. You can also try a homemade scrub mix of brown sugar, coconut oil, and honey (all one tablespoon) and apply them on your lips with fingers.
15. Get that perfect Jolie-pout in no time
You could use a lip gloss or glossy lip color to make your lips look fuller. Alternatively, use a lip liner to line outside your lips a bit before you add color. But, don’t overdo it. If not done right, it can make you a laughing stock really quick!
16. Always start from the middle
A well-defined cupid’s brow is a head turner and the smartest way to ensure that you get it every time you apply a lip color is to start in the middle.
As a beginner, you can use your lipliner to draw an ‘X’ on your cupid brow for guidance and starting from that, move the lipstick outwards toward the edges.
17. Long-stay lipstick
For years, I have spent so much time putting make up on only to reach where I wanted to be and realize my lipstick is already faded or gone.
It wasn’t until I discovered the magic loose powder can bring that my life finally felt pretty sorted when it comes to having my lip color on for the whole time.
Dab a little translucent loose powder or colorless eye shadow to lock your lip stick in its place.
18. Lipstick stained teeth? Eww!
Lipstick on your teeth is an instant giveaway that you are a newbie at makeup, and that definitely doesn’t sit cool with your peers, does it?
To avoid this, after you have applied lipstick, put your thumb inside your lips (yes, like we all did as a child), pucker up, and pull your thumb out.
19. Clean your brushes
The zillion YouTube videos you have watched before coming to this post have already taught you which brush to use for what, but the most effective way to have spotless makeup is to have spotless makeup applicators i.e. your brushes and sponges.
Also, unclean brushes can cause a series breakout. Use a mild shampoo to clean your makeup tools at least once every week.
20. Keep up with the order
Though most of your makeup tutorials show applying base makeup first as the common practice, the best beauty experts in the world suggest starting with your eyes and brows and then using the base make up to cover up any excess eye makeup or mistake.
21. Remove, rinse, tone, moisten
No matter how perfect you get on applying makeup, remember, make up only enhances your existing beauty and the only way to retain it is to keep it clean and healthy.
However expensive your makeup products may be, after all, they are made of chemicals and they shouldn’t be left on your skin when you go to bed.
Use coconut oil or a gentle cleanser to wipe make up off your face, rinse well with a face wash (possibly a natural or organic one without any harmful chemicals), dab a hydrating toner, and finally moisten with a good moisturizer.
Final Touch:
Alright then! You are all set to rock your looks in the world of glam and fame. Keep practicing these steps and you will soon put make up like a pro. Stay happy and stay gorgeous, ladies!
Widget not in any sidebars
